Most holiday decorations are cute for a year or two, and then they end up on our landfills. Homemade decorations are a great alternative to plastic decorations. I have been playing around making a few homemade decorations. Here are my five favorite handmade decorations. They are all low waste, eco-friendly, and they cost little to nothing to make!
Cinnamon Salt Dough Ornaments
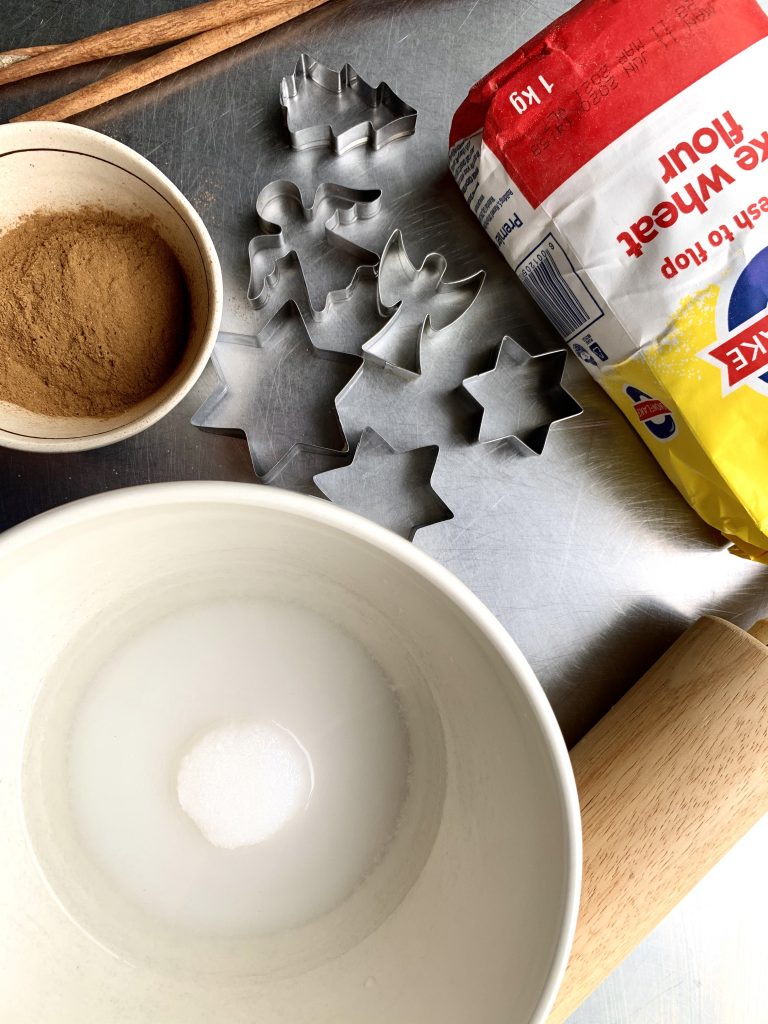
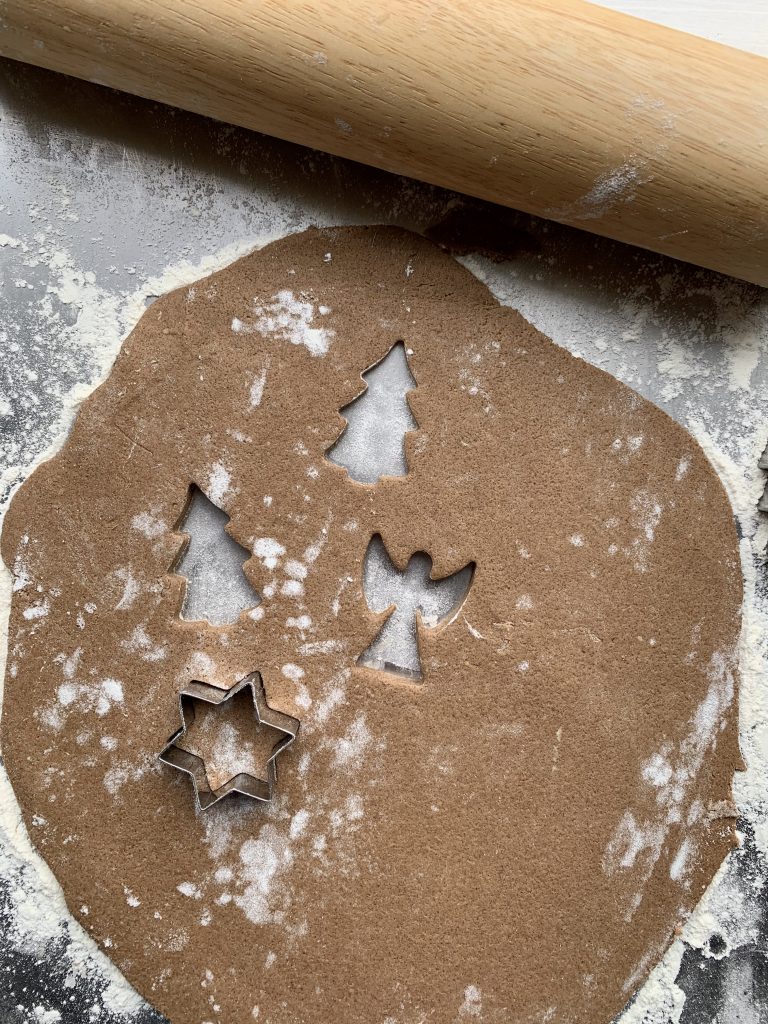

These ornaments are a great alternative to plastic decorations. They are made from all-natural ingredients and they last for years. The best part of these ornaments is that it only takes 4 ingredients which you probably have in your cupboard right now. They are also the perfect holiday activity for kids. I use them as ornaments and gift decorations. I love using the cinnamon – it makes it feel all Christmassy to me.
1 ¾ cups of flour
1 cup of salt
1 cup of warm water
¼ cup of ground cinnamon
A few teaspoons of nutmeg (optional)
How to
- Dissolve the salt in the warm water, then add the flour, cinnamon, and nutmeg. You can omit the spices if you have allergies or do not like the smell.
- Knead the dough with your hands until it comes together and is not to sticky. You can add more flour or water if needed.
- Dust the rolling-surface with flour, roll out the dough and cut out the shapes you want.
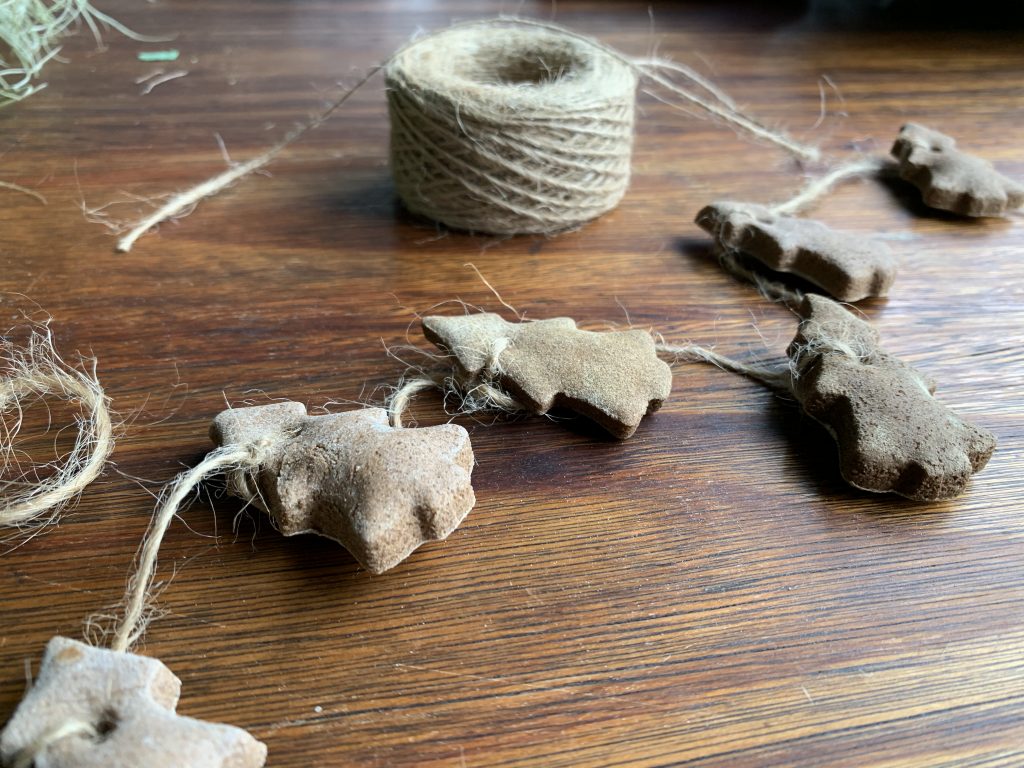
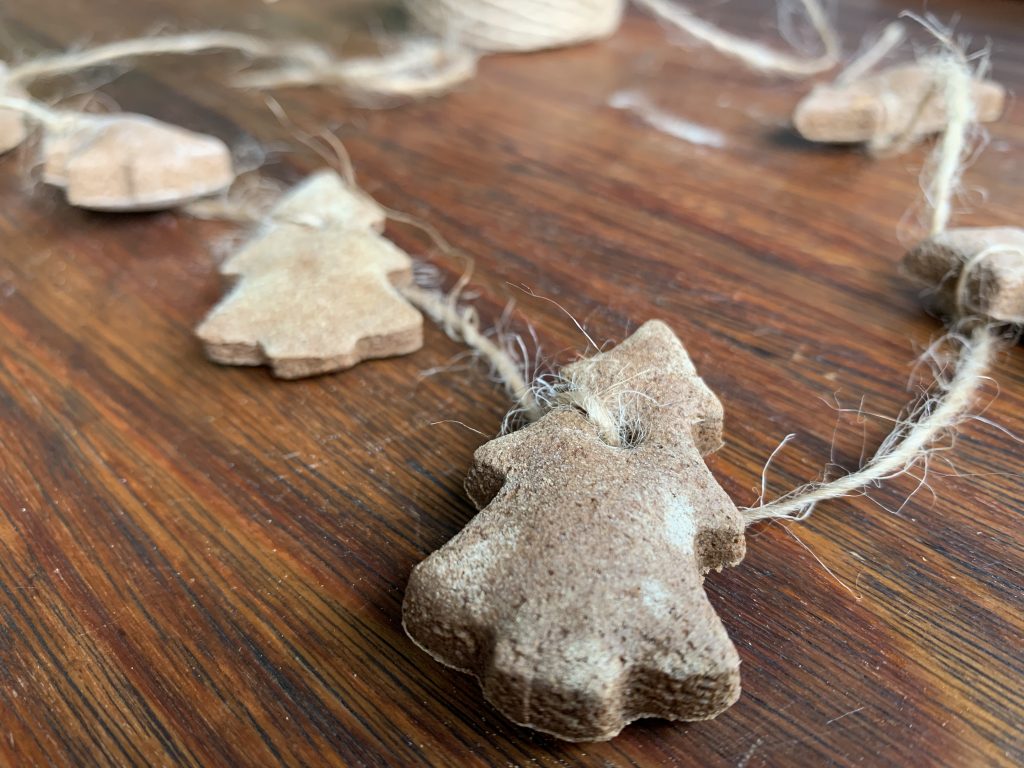
- Poke a hole in the dough so you can string them when dry.
- Bake at 120 degrees Celsius for around 2 hours (You can also air dry them for a few days).
Note: remember this not an edible recipe. If you have pets or toddlers in your home keep the ornaments out of their reach as the high salt content is dangerous.
Scrap ribbon tree ornament
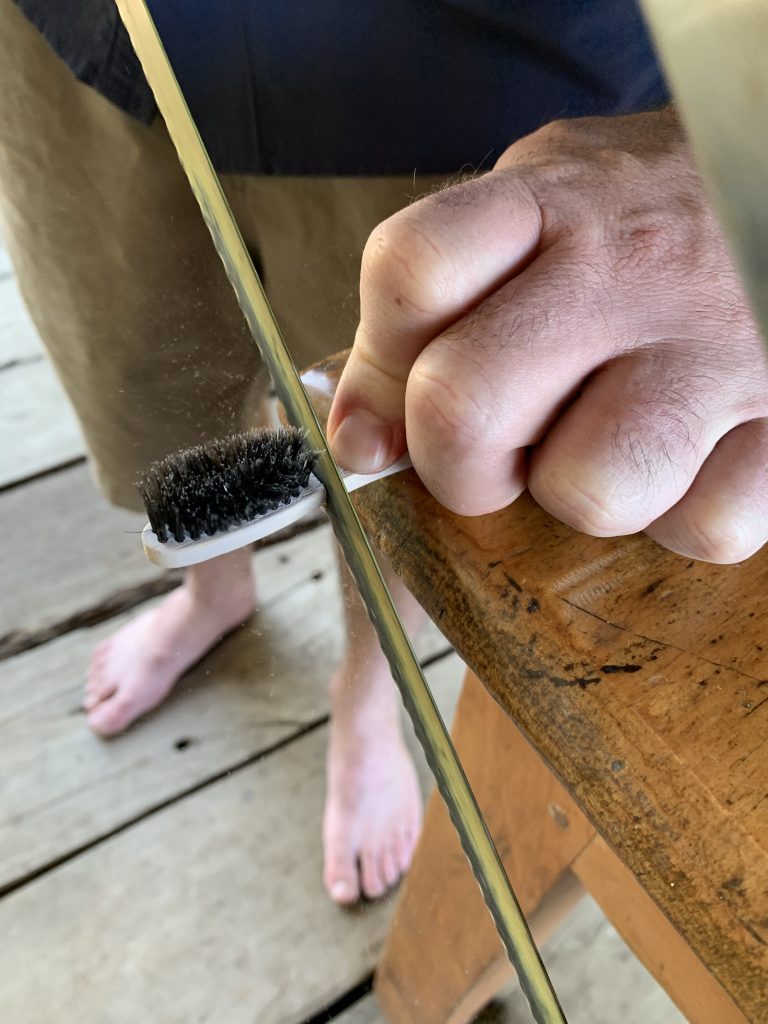

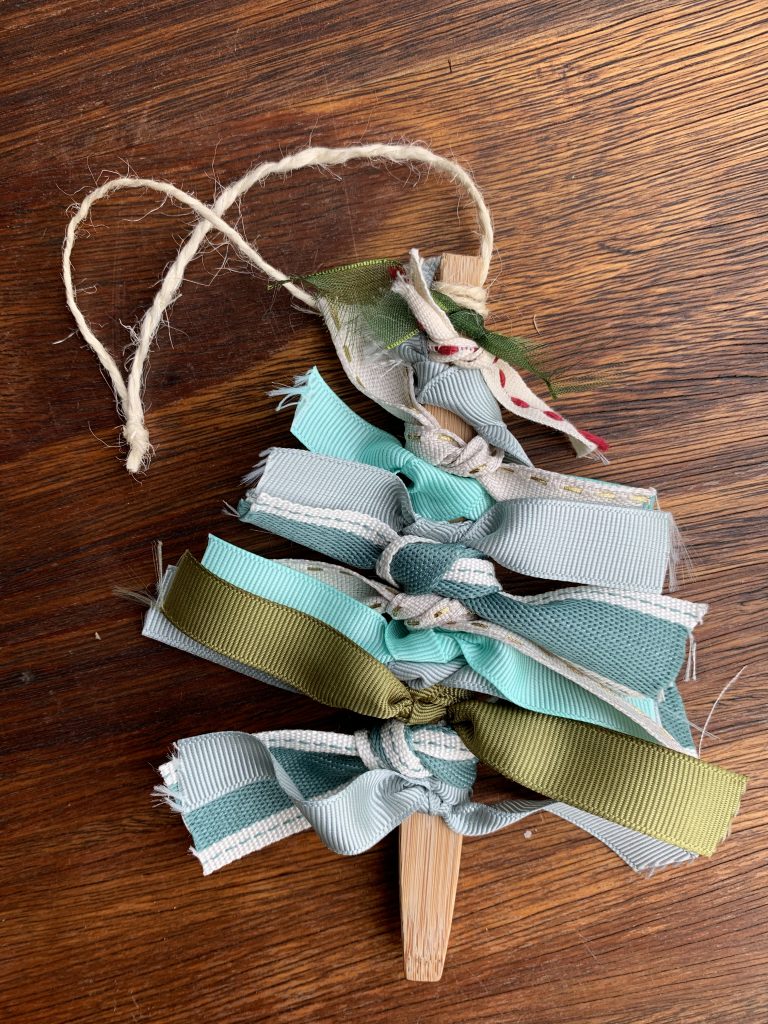
This is a great way to re-purpose your bamboo toothbrush and use those pieces of ribbon scraps that are too short for wrapping but to beautiful to throw away. You can replace the toothbrush with twigs or cinnamon sticks.
You will need:
Old bamboo toothbrush
Ribbon scraps
Twine
Scissors
How to
- Tie the ribbon scraps around the toothbrush. Line them up and bunch them together. Now trim the edges off the ribbons so that you have the shape of a tree.
- Tie a twine loop to the top of your tree.
Wire and bead angels
These are so cute and extremely easy to make.
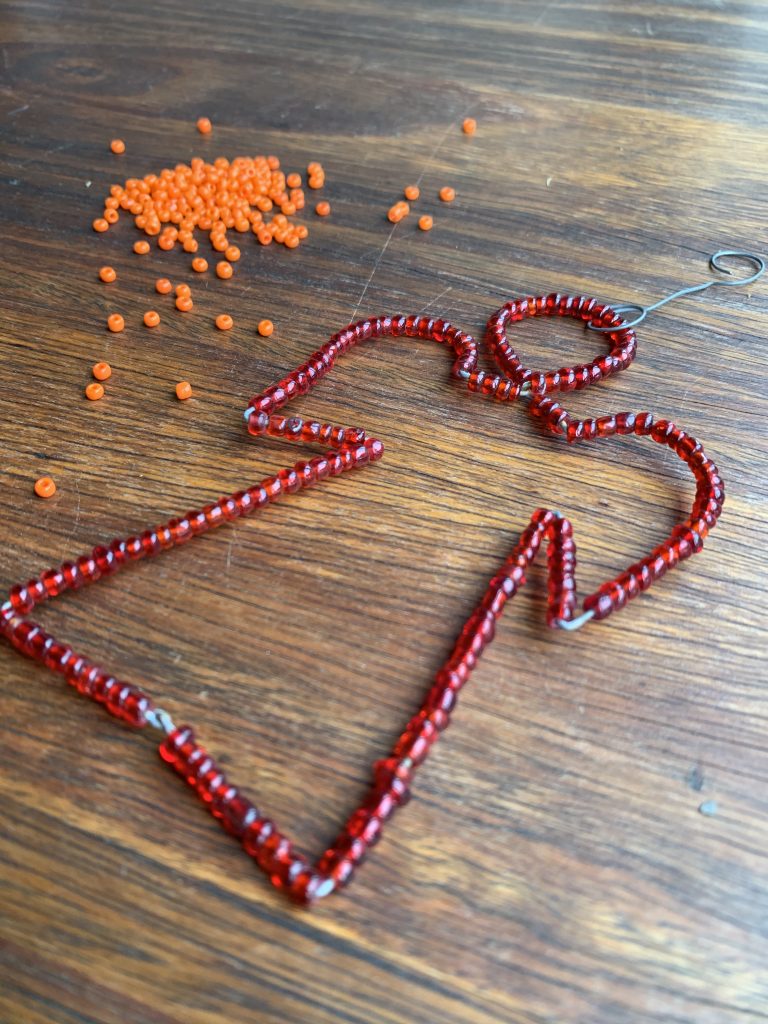
You will need:
Easily pliable steel wire
Beads
Pliers
How to
- Ply the wire into the shape, it needn’t be angels, you want using the pliers.
- Once you are satisfied with the shape start threading it with the beads. When all the beads are in place finish the wire off by twisting the ends onto each other.
Cardboard Snowflakes
This is great activity to do with your kids. They are really pretty, eco-friendly and budget conscious.
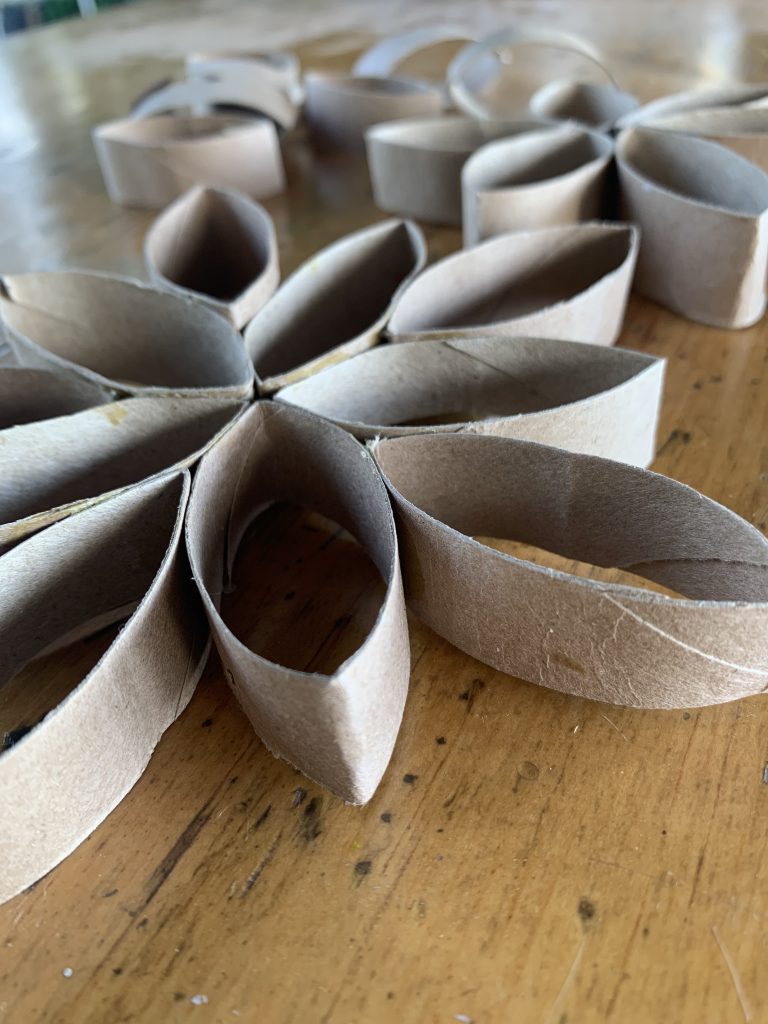
You will need:
Paper towel tubes
Glue
Scissors
String
How to
- Cut the paper towel rolls into 2.5cm pieces, vertically.
- Crease each one to give it an oval shape.
- Glue the ovals together until a snowflake pattern emerges. You can make them as small or large as you want.
- Tie a string on the one end and hang in your tree or use as decorations on packages.
Stained-glass Christmas Cookies
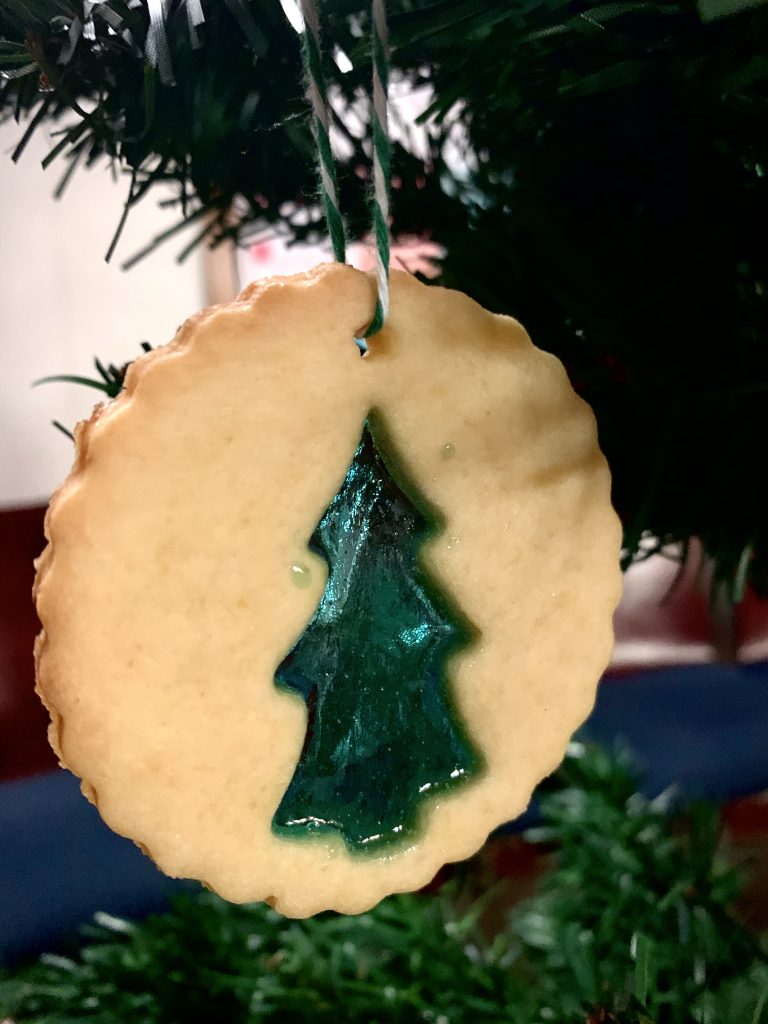
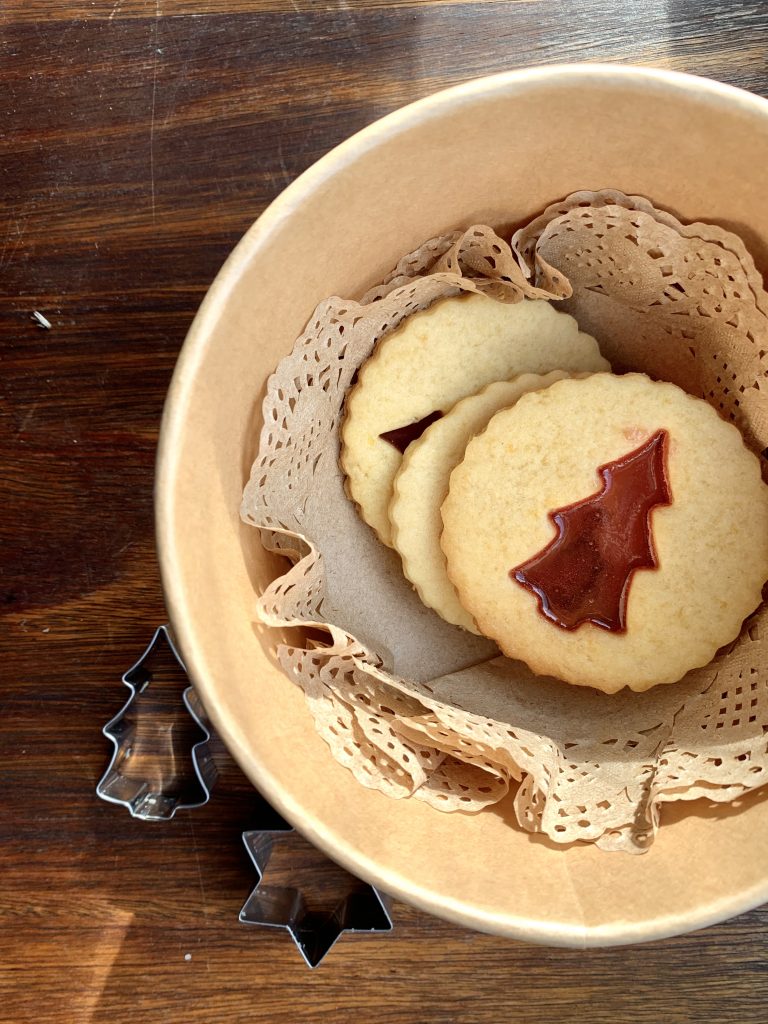
These cookies make striking Christmas tree decorations, as well as making a special gift. Many years ago, I stumbled upon this recipe in one of Australian Women’s Weekly’s Christmas cookbooks and I have been baking them ever since. It has become a bit of a Christmas tradition for me. Through the years I have tweaked the recipe a little. These cookies are a little fiddly to make, but really worth all the effort.
You will need:
250gr butter, softened
¾ cup (165g) caster sugar
2 teaspoons finely grated lemon grind
½ teaspoon vanilla/almond essence
1 egg
1 tablespoon water
2 ¼ cups (335g) plain flour
90g individually wrapped Sparkles (sugar-free fruit drops)

How to
- Preheat oven to 180 degrees Celsius. Line two trays with baking paper (using baking paper is crucial).
- Beat the butter, sugar, rind, essence, egg, and water in a small bowl with an electric mixer until smooth (do not overbeat). Transfer into a larger bowl and stir in the flour. Knead the dough on a floured surface until smooth, cover with a bee’s wax wrap or clingwrap and refrigerate for 30 minutes. In hot weather you could leave it a little longer.
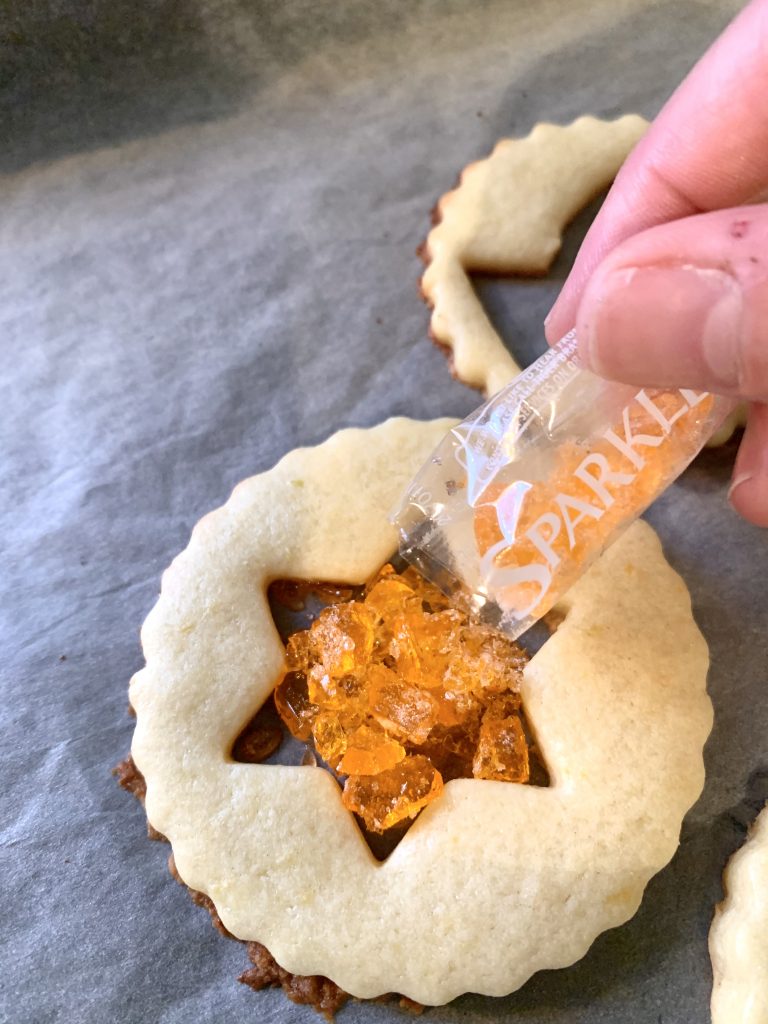
- While you wait, place wrapped sweets in a mortar and bash them with a pestle to crush them slightly. You can also use your rolling pin to tap the sweets. Unwrap the sweets and separate by colour into small bowls.
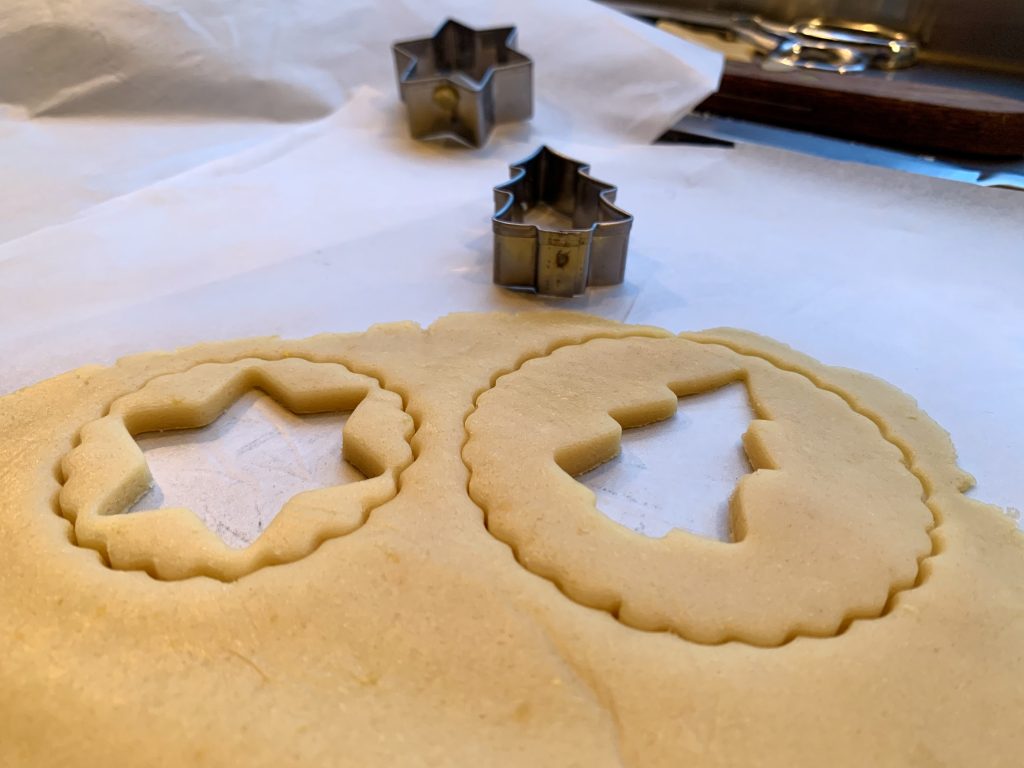
- Roll dough between sheets of baking paper until 4mm thick. Cut shapes from dough using medium-sized cookie cutters. Then use smaller cookie cutters to cut out the centre of each cookie.
- Place the cookies on the prepared trays and bake uncovered for 5 minutes.
- After 5 minutes remove the tray form the oven, fill the cut-out centre of each cookie with a different colour sweet.
- Return to the oven for a further 5 minutes. In some ovens you might need to leave the cookies in for a few minutes longer. Keep an eye on them. You want them to be a beautiful golden-brown colour.
- Cool cookies on tray
Note: If you want to hang them on the Christmas tree, push a small hole near the top of the cookie before baking them.

I hope you have loads of fun making these decorations!
Merry Christmas
xxx
fay

